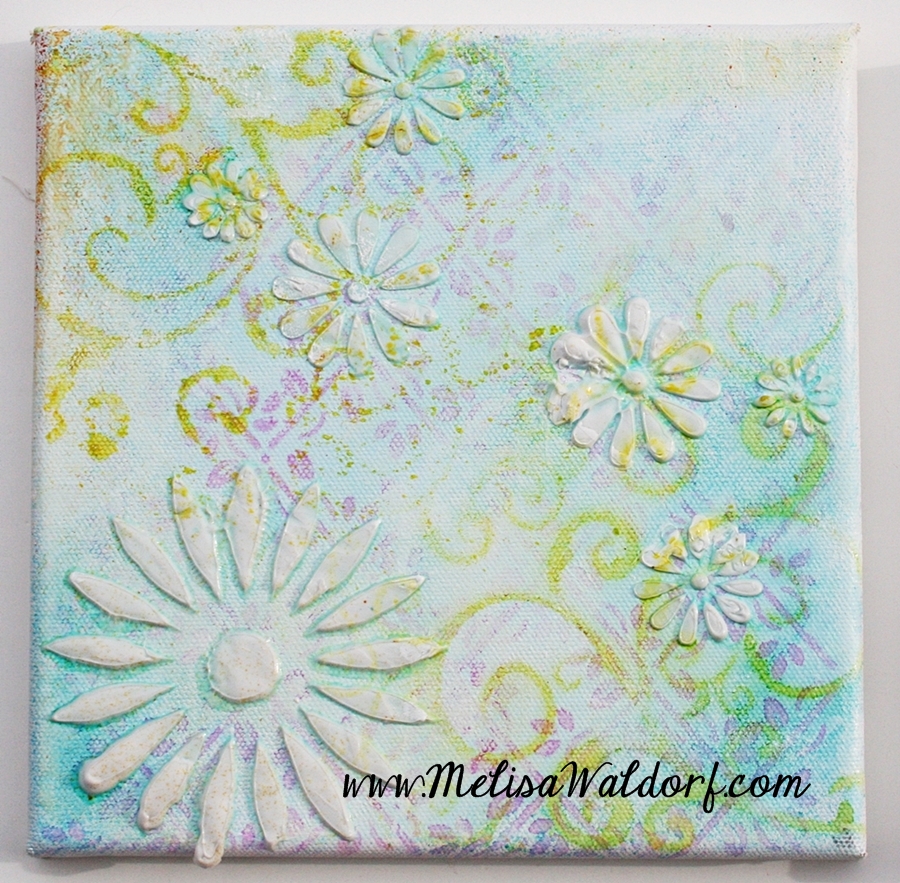
Showing posts with label Medium - Paint. Show all posts

Monday, March 4, 2013

Mixed Media Background Tutorial ! 4x4 Mini Canvas


 4" x 4" Canvas

Hello friends.  Today I want to share a 4 x 4" canvas with you and a tutorial on how you can create the background and these little tissue paper flowers.  

Don't have time to make one yourself??  I have some of these 4" x 4" canvas' with easel for sale if anyone is interested.  You have a couple of choices for phrases.  1.  Be You,  2. Enjoy LIfe,  3. Live Life with Purpose. 

I was going to open and etsy store, but things have been a little stressful since my mother moved in.  Maybe after we get her settled I can get back to that.  If you are interested in purchasing one, they are $20 plus shipping. You can email me at luv_2_stamp@yahoo.com.  


To create the background I used 4 different color acrylic paints and an old credit / gift card.  Basically you squirt a little paint across (horizontally) the canvas then use the card to pull the paint up and down vertically until you get the look you want.  Then turn the canvas and do it the other way if needed.  It just takes practice until you get the look you want.


I started by applying a full coat of the lighter - Tropic Bay Blue with a foam brush.  After that dried I used the technique described above with the darker - Bahama Blue.  Since I only wanted a small amount of the green, I didn't apply as much of that.  


Next I did white and didn't like that look - too much white.


So I added more blue.  Remember you want small amounts of the under coats to show through so that the canvas looks distressed.  So keep layering until you get a look you like.  If you are having a hard time getting that distressed look just by dragging the paint around .... then use a little sand paper (after it is completely dried) to rub off a little of the top layers and reveal some of the layers underneath.


Once you are happy with your background ... distress the edges of the canvas with white paint.


Adhere patterned paper or tissue paper (Pink Paislee - Daily Junque) across the bottom of the canvas as grass.


Distress the background more with a script stamp image.  You can do this by randomly inking a script stamp or use a Rollagraph.  I love the Rollagraph because I have control of rolling just a little of the image and lifting quickly.  If you need a stamp option - then Pink Persimmon sales a great small (ATC size) script image HERE.


Larger images are great for bigger projects, but because this is a 4 x 4" canvas, smaller script will work best because you want that barely there look.  Less is more in this case.  And always practice first on scrap paper.  If your ink is really bold, you may want to stamp a little off and then stamp on the canvas.  If you accidentally apply too much, heat set it and try applying more paint to cover up your script.


I have to tell you creating these little tissue paper flowers took a long time, but I do love them.  I purchased colored tissue paper, but you could always use white and paint them after you have created the flower.  

Depending on how large you want your flowers, and how tightly you twist the tissue paper, the size of the strips you cut may vary.  Any where from 1/2" - 1 1/4" will be good.  After you have cut a strip, twist it vertically so you have a long piece of twisted tissue paper.  Then you want to wrap the strips around in a spiral to create the flowers.  As I'm wrapping, I'm twisting the strip as well.  Not all of mine looked good enough to use and I got faster and better at it the more I made.  I use Aleene's Tachy Glue because it so inexpensive.  I'm sure there are easier ways to do it.  I've seen others use "Glubbers" by Cosmo Cricket and I think you can buy them at Joann's.  But they are probably for larger flowers.

After the glue was dry I sprayed them with spray ink.  I was trying to get some shadowing.  I used spray ink on the yellow and orange because the tissue paper was washed out and I wanted a brighter color.


Next I created teeny-tiny leaves and stems from pattern paper.  I doodled them on and then cut them out.  


Next I figured out placement for each of the flowers and stems.  BEFORE I glued the flowers on, I used a pencil to lightly dash around each flower so I would know where they went and then lifted them off.  Doodle with a black pen using the pencil guidelines.  Now is a good time to go ahead and doodle around the edges of the canvas and along the top of the grass if you want doodle lines.

This is a major tip you have to remember : You have to do any doodling you want to do before you put the oil pastels on.  Pens will not work over the oil pastels.  It could run your pen.

Next I rubbed on oil pastel colors using my finger over the dashed area's.  If you try to do this after you glue the flowers on ... you will have a hard time getting the color right up against the flower.  You want it to look like a halo or shadow coming from behind the flower.


Glue the flowers and just the top of the stem (under the flower) down.  So you leave the stem hanging freely. You want to be able to adhere part of the leaves from behind the stems.  Rub some green oil pastel over the tissue paper grass to add some shadowing.  


Decided where you want your leaves and adhere them.  Adhere stems.  If you want to add green shadow with oil pastel along the stem, it might be easier to add a little before adhering the leaves / stems.  I did rub a little of my green oil pastel on the leaves as well to add some shadow.  Use a black "sketch and wash" pencil to add more shadowing.  These are pencils that apply color and then you can brush a little water over them to smear them around a little.

  Hope you were inspired to give this technique a try!
Have a fabulous week,
Melisa


Thursday, February 7, 2013

3 ways to use paint on your backgrounds ...


Hello friends!  I'm so excited to share these today.  I have several different idea's for ways you can use acrylic paint on your projects.  I have used them on cards, but they could be used for scrapbooking, artist trading cards, and art journals / mixed media as well.  

All of the projects today feature Hero Arts stamp images as well.

On the card above I used Hero Arts "Design Block : Flourish" and "3 Artistic Butterflies".  I watered down some acrylic paint just a little (mine was very thick) and patted it on the background stamp with a foam brush.  I spritz the water color paper lightly with water and then stamped the background.  I think it would be fun to try multiple color paints as well.  Next I splattered on some watered down pink paint using a small round paint brush.  


For the second card I spritz the water color paper lightly with water and then "stamped circles" on the background with the cardboard centers from toilet paper and paper towels.  Again the paint was watered down a little.  Then I spritz again with water so that the paint would run and the background would become mottled.  I did some smaller pieces for ATC's using some small plastic lids from my chapstick and an hand sanitizer bottle.  The green paint was splattered on.  The stamp for this card is "Classic Bloom".


The background on this one was stamped like the first one using "Cling Dots".  I used "Dictionary Greetings" and "Cupcakes" as well.

I also created by own washi tape for all of these cards as well.  You may remember I did this last year on some of my Pink Persimmon Artist Trading Cards.  Adhere masking tape to wax paper (so you can pull it back up later and adhere it to your project).  Paint masking tape then stamp with patterned images.

A few general tips ...
Watercolor paper paper comes in different weights and textures.  Doesn't matter what kind you use, but keep in mind that the thinner the paper, the more it will warp.  Mine was thinner that I usually use.  After the panels were dry I ironed them to flatten them by placing the panels between 2 paper towels.

Acrylic paints vary in viscosity as well.  Just practice til you get the feel for how much to water yours down.

I hope you are inspired to use acrylic paint on your projects.
Have a fabulous day!
Melisa


Thursday, January 31, 2013

Mixed Media Cupcake Canvas'


Hello mixed media friends.  Today I am excited to finally sharing the 4 cupcake canvas' I created earlier in the month.  I was holding off because I felt like they were not quite finished.  I want to add some words or phrases, but never got around to it.  So I figured it was best to go ahead and share them as is for now.  The canvas' are 8 x 8 and I did them in colors to match my studio.  I'm going to arrange them in a square.


I had sooooo much fun creating them.  Of course looking back, realized things I would not do if I had to do it again.  But still found great joy in the creative process for these canvas' and I hope you are inspired to create one of your own and share it with me.  I'm including photo's of each project at the 1/2 way point as well.  

CANVAS #2


The techniques I used for creating the layered / dreamy background was learned in a class called "Art Journal Conversion" by Roben-Marie Smith.  While using these mediums were not new to me, it was the use of them that completely inspired me and is now one of my favorite mixed media techniques.  Roben shows you how to build multiple layers of spray inks with stencils, and gesso to get that dreamy effect.  I'm including photo's at the 1/2 way point of creation as well.


CANVAS #3


The cupcakes are hand drawn patterns.  I paper pieced them and then added the icing (thick tachy glue -Aleene's with glitter sprinkled on top)


I learned a lot doing these canvas'.  
#1 plan out what you are going to put on your backgrounds and visually lay it out, so you can see where you might want to place your modeling paste shapes.  
#2  I love the circles and flowers with the cupcakes ....  but wasn't crazy about the style of the 2 swirly stencils and ended up trying to cover them up with circles.  


If you have any specific questions about any of the backgrounds ..... shoot me an email.


Here's a close-up so you can see the texture the modeling paste adds !


Thanks so much for stopping by today!!  I will have so many more projects (Mixed Media, Scrapbooking, Cards, and ATC's) to share with you in 2012 so I hope you will stop by again.  If you want to receive my post via email, it's easy!  Just enter your email address in the sign-up box on the side-bar.  You can unsubscribe at any time.  

If you are interested in checking out all my Mixed Media projects Click HERE.

Projects with background tutorials can be found HERE.

I just set up a new page with a list of mixed media classes I have taken and why I liked them.  You can find the link with the tabs along the top of my blog.  If you have any classes you have taken and enjoyed .... I would love to here about them.


I have to share one more thing .... I just signed up for Stephanie Ackerman's "52 Card Pick Up" Class.  Wanna check it out??  Visit Stephanie's blog HERE.


I just set up a new page with a list of mixed media classes I have taken and why I liked them.  You can find the link with the tabs along the top of my blog.  If you have any classes you have taken and enjoyed .... I would love to here about them.

Saturday, August 25, 2012

Mixed Media Project's


Hello mixed media lovers.  This is a long post, but bare with me.  I rarely share personal stuff, so I"m going to make up for some of that in this post, teehee.   My daughter, Nicole, visited us (she's away at college in FL) back in June and we had a wonderful time crafting together.  I treasure these times with her now that she is an adult and lives so far away.  They grow up so fast, don't they.  


 She is a sweet, loving, funny, crazy, quirky, energetic young women who is passionate about changing the world by becoming a teacher, teaching in inner-city schools, and reaching children who need to know how much God loves them.  And these qualities often shine through in her art as well.


I am so proud of  the young women she is becoming and how she celebrates life with all that she has!
YOU go girl!!


She is a full-time student and works part-time, so she doesn't get to create as much as she would like to.  She loves arts and crafts but has never taken any classes.  She loves to re-purpose things and we never knew what she would find at a second hand shop and bring home to turn into "art".  She just see's things that inspire her and goes for it.    Often she is inspired by a bible verse, song lyrics, meaningful quote, or something that is going on in her life.  She loved the piece I created as a result of taking Roben-Marie Smith's online class back in April and wanted to give it a try.  (You can check out my project HERE.)  She created a couple of projects and wow!  I was so proud.  She has never taken mixed media classes, so it really does show you how awesome Roben's class is.  I don't want to share all the step by step instructions, since Roben's class is still up for sale, but I will share a few photo's of Nicole as she was building her canvas.


Roben's class is "Art Journal Conversion" and you can read more about it HERE.
It involves lots of spray inks, stencils, gesso, modeling paste, doodling.  All the things you have probably used before as a mixed media artist.  What was different for me is the way Roben builds layer upon layer creating so much depth in the background.  I love here style and loved the class.  And it was a steal for $24.99.  The only thing I didn't own, and had to add to my supply's was oil pastels.  I got a set for about $10.  You can check out Roben's blog and projects on her blog HERE.

She used the same techniques to alter a journal cover


Add because this post is all about my daughter and her art, I am going to share a few more pieces she has created over the years.  Not always the best photo's (she took them herself) and often her idea of a good background was the grass in the backyard, teehee.  I hope you see something that inspires you!  


She likes to take models from magazines, adhere them in her art to use as a base, and then paint over them. This one makes me laugh, it says "How can a woman be expected to be happy with a man who insists on treating her as if she were a perfectly normal human being"


 This is one of her cats.


" He who accepts evil is as much involved in it as he who helps to perpetrate it"  "I have a dream that for little children will one day live in a nation where they will not be judges by the color of their skin, but by the content of their character."  "Injustice anywhere is a threat to justice everywhere"  MLK, Jr.


"But hold on to what you believe ... in the light ... when the darkness has robbed you of all your sight"


"I know my call despite my faults and despite my growing fears"


"Tonight I'm going to bury that horse in the ground"


I thought this one was an octopus at first, teehee.  But it's a mouth with words coming out of it.
"There's nothing else we can do.  We have to speak about the things we've seen and heard"


  "For we can not but speak the things from which we have seen and heard"  Acts 4:20


This is a series of 3 long canvases.  Across the bottoms of the dresses "I'm tired of striving to be, who You already say that I am.  I am Yours"  "All I know is beautiful in me is You.  Every good thing, every true thing.  Beautiful in me is You".  It's so wonderful and encouraging  to know there are young adults out there who are not consumed with this world, and desire to serve God.


The Giving Tree by Shel Silverstein


If I do not love, I am nothing.  1Cor 13 1-3


Not just your art, but your life and who you are is an inspiration to me my sweet girl!
Live, laugh, love!  Mom
Related Posts Plugin for WordPress, Blogger...