Showing posts with label Medium - Tuelle. Show all posts

Thursday, April 19, 2012

GinaK Designs - Springtime Silhouettes

  
Today I'm sharing another Springtime Silhouettes card.  I am also using a fun flourish die from Cheery Lynn Designs.  I love that there are sooooo many companies making dies now.  So many choices and many of them to fit specific images as well.  Do you have any favories???  
Happy die cutting!!
Melisa

You can view all of my GinaK Designs projects HERE.

****************************************************

Project Details
Stamps : GinaK Designs "Springtime Silhouettes"
Ink : Tsukineko Brillance Pearlescent Chocolate
Die : Cheery Lynn Designs "Mega Fanciful Flourish"


Trim polka dot patterned paper ink edges and adhere to card front . Trim aqua patterned paper  and ink edges. Adhere cream cardstock on the back along top edge and trim with deckled scissors Adhere to card front. Adhere trim along bottom edge. Cut flourish and adhere to card front. Stamp image on cream cardstock and trim. Embellish with brown tuelle. Stamp sentiment on cream cardstock and cut with oval die 

Wednesday, January 25, 2012

Shabby Chic Altered Cigar Box


Hello paper crafters!  Today I am sharing an altered cigar box.  I like this one much more than my last one because it's not so dark.  I guess you can tell I'm in love with the Shabby Chic style.  I have someone in my card swap group who is going to get me more of these to alter.


I did use some stamps that are REALLY old, but will list the supplies that are current below.  The base was covered with My Mind's Eye patterned paper.  The same paper pad I have mentioned before that I found at Hobby Lobby.  This paper was really thin, so I had to be careful with Modge Podge and make sure I didn't get it to wet. 


I got so excited when I found the feet and knob on top. Hobby Lobby has a section with drawer pulls and there were only a few of this style. They come with a really long metal "whatchma call it" come off the back. It's the part that you push through the hole on the drawer and then secure with a bolt. These were even way to long for a drawer though. So I had to get my sweetie to cut off a portion of that part. 


I wish I could tell you who made my postcard stamp.  I'm LOVIN' it.  I am usually great at documenting stamps in my catalog for future reference.  But ... you can find them in rubber or digital. 
River City Rubber Works  (This one comes as a digi or rubber)
Expressions In Ink  (rubber)
I love this one by Unity (rubber)
I Brake for Stamps

Butterfly image - Layers of Color
Doily stamps - My Minds Eye Gertie Collection
Pearls - Prima
Paper Roses - Wild Orchids
White Resisn crowns and other decorative element - Melissa Frances
Hat Pin - Jenni Bowlin

You can view my other altered cigar boxes HERE
You can view all of my altered projects HERE

thanks for stopping by!
Melisa

***********************************************************

Challenges

Creative Inspiration Paint - Pink
Sisterhood Sundays - photo inspiration
Creative Belli - fancy frame - mine is the fancy scroll frame stamped image under all the embellishments
Truly Scrumptious - the postcard, scroll frame and corner images are all REALLY old stamps
Allsorts - stick pins
Craft Your Days Away - distressing


**************************************************************

Link Parties
Nifty Thrifty Sunday @ Nifty Thrifty Things
Sundae Scoop @ A Time To Create
Sister Sunday Link Party at Sister of the Wild West
The Sunday Showcase @ Under the Table and Dreaming
Make Monday Marvelous @ C.R.A.F.T.
Made by You Mondays @ Skip to my Lou
Inspire Me Monday @ Singing Three Little Birds
Uncommonly Yours @ Uncommon Designs Online
Whatever You Want Wednesday @ Free Pretty Things
WOW Me Wednesday @ Gingersnaps Crafts
A Crafty Soiree @ Katie's Nesting Spot
Watcha Got Weekend @ Lolly Jane Boutique
Show and Tell Friday @ My Romantic Home
Feathered Nest Friday @ French Country Cottage
Strut Your Stuff Saturday @ Six Sister' Stuff
Check Me Out Saturday @ A Vision to Remember

This project was featured at  Passionatelly Artistic


Friday, June 3, 2011

Don't go breakin' my heart ....


Wanna know how to break my little artsy heart???  Issue a "cardboard" challenge for the summer issue, and then don't publish my little Under The Sea art piece.  :  (     I don't usually whine or complain on my blog, I save that for DH, ha!  But Stampers Sampler has broken my heart.  It's a day like this that makes you want to throw in the towel and stop submitting.  What I am more upset about is that I sent them $10 to mail this and 3 other cards back and they haven't!  I worked hard on this, and I hope it didn't end up in a trash can somewhere.

But I want give up!  I love their challenges and template challenges and they really spark my creativity so I will push on!  And I have to say that the June / July issue is OUTSTANDING!  Even if you don't want to buy it.  Stop by a nearby Michaels or Barnes and Noble and check it out.  The hot air balloon template projects are AMAZING!  What creativity!   And of course I love all the cardboard art.  I saw 1 name I recognized.  This chick is an outstanding mixed media artist.  I wanna be just like her when I grow up!

If this issue inspires you to create something using cardboard then I would love to have you add it to my Flickr group HERE.
Need more inspiration ??? 
You can check out more of my cardboard art HERE.
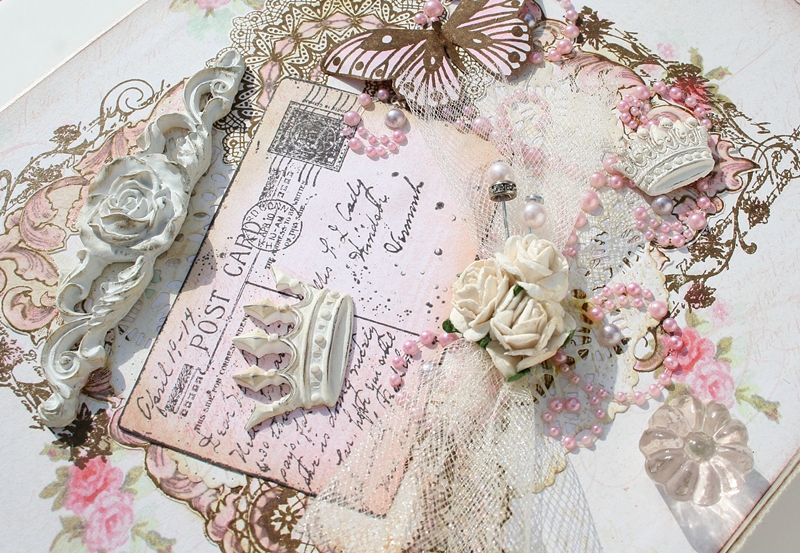
****************************************
Project Details

Ink - VersaFine Onyx Black, Brilliance Pearlescent Chocolate both by Tsukineko.
Corrugated Cardboard.
Pumus - Golden.
Crackle Paint - Ranger
Acrylic Paint - Making Memories.
Tuelle - Bazzill.
Raffia, hemp and shell fiber - local craft store
Clear pebble embellishment - Making Memories

Cut corrugated cardboard to size and tear away some area’s to expose the ripples.
I started out applying some vintage music paper but it was eventually layered over
and now you can only see hints of it (The Etude at the top).  Apply acrylic paint (mine
is watered down so that it is a little transparent). Apply pumus (it’s this wonderful sand
like product you can find I the artist section of local craft store) with a palette knife.
Pumus is grey in color, but you can mix it with paint. I used a beige color. After dry,
apply crackle paint. Add brown ink. Stamp images and trim. Stamp sentiment and
trim with Spellbinders die, then ink edges. Cover back of project with white paper.
Wrap with fibers and adhere clear pebble to center of knot. Adhere sentiment
and images. Add a cardboard frame stand to the back so you can display it
on a table top.

Have a blessed weekend!!
Melisa

Related Posts Plugin for WordPress, Blogger...